Tuesday, 26 January 2016

The Cape Charles 32 kit

This has been on the go for some while but has now started to become a reality.


The Cape Charles 32 design has progressed to the stage that we have sent construction drawings to the first two builders so that they can start planning their projects. One is waiting for a kit to be available in a few months before starting. The other will wit for the northern summer before starting. I must still supply deck hardware layouts, finalise rig details and do rudder detailing, other than that it is done.


This is in many ways a classic cruising version of the Didi 950, with almost identical length and beam. It is detailed to a similar high standard of information, so I am pricing the plans at the same level, US$1500 to build from plans with offsets. We will also have full-size Mylar patterns available for bulkheads as an optional extra for $600. Shipping will be added to those prices.
Regards,

Dudley Dix
Dudley Dix Yacht Design

Wednesday, 20 January 2016

Basils first CKD Boats cc Optimist kit build

I must say that Basil has produced a really great looking Optimist from the kit we sent to him.


Hi Roy

I finished painting.

Have a great day.

Basil

(Switzerland)


I can recomend leaving the inside of the boat in clear varnish, it is a lot faster to work that way and makes a statement to your wood/epoxy Optimist build.


This week we are cutting two more Optimist kits for Basil, they will ship by sea, the one in the pictures went by air.

Roy

Cape Towns V&A Waterfront in 1997

The date will be close, the fact that the boat nearest the camera still flys the old South African flag tells me that this was pre elections.


Brian was a good friend of mine and I only discovered he has passed on last week.

This is an early TBA meeting, it will be around 1997?

Note the old SA flag on Kalarhari Sand (ferro build) Don who is standing next to Brian built the boat himself.

It was holed off Dassen Isle one night and is still there.

Brian is in the yellow tee shirt,

My Endurance 37 Ocean Cloud is behind them and against the wall.


His company is still running, Good Hope Stevedoring, in Auckland St, Paarden Eiland,

http://ckdboats.blogspot.co.za/2012/05/tba-meeting-at-v-waterfront.html

Rob, a friend of mine, viewed the picture and made the following observations.


The V&A shopping centre (or “Disney World” as my Dad unflatteringly called it) is still under construction in the photo, and the Table Bay Hotel  has still to be constructed at N0. 6 Quay which was for many years the “home” berth for the Thesen’s Coasters where I started my career. So that dates your photo.

The jetty at which your boats are moored in the photo was where the mooring line-running launches (operated by Larry Ruddy and Robert Quine) berthed, and also the harbour Police launch “Gemsbok” and the SAR&H port wooden launches, “Bus”, “Sparrow” and her identical sister whose name escapes me now but begins with a “K” –  something like “Kokewiet”. Further to the left and out of your photo frame was the boat-building yard of Louw & Halvorsen, builders of scores and scores of fine wooden craft for more than 50/60 years. It was there on a 72-ft pilchard trawler built for Mr. Johnny Eigelaar of Velddrif that I performed my first “solo” inclining experiment as part of my naval architecture practical training. Boat’s name was “Langeveld” I think. That was in 1968.

Then Rob remembered some more about the area.


Roy,

Only for completeness’ sake, having remembered it this morning, I confirm the name of the second of the identical twin harbour launches as “Korhaan” (Afrikaans for the long-legged bird “Bustard” )
She and “Sparrow” were nice, fully-enclosed little single-screw craft, all varnished woodwork and polished brass. Built as a pair by L & H in the late 1950’s, I doubt that they still exist.

The larger SAR&H launch “Bus” was twin-screw and was used to assist movement of small trawlers in the Alfred and Victoria basins. She was also L&H-built.

The grand-dame of the lot was the police launch “Gemsbok”, powered by twin Kelvins in a separate stand-up and walk-around engine room aft of the wheelhouse. She had been known to make police trips as far north as Dassen Eiland and as far south as Cape Point.


Rob


Tuesday, 12 January 2016

Optimist kits, news from Switzerland

Hi Roy

Today I started pre-painting.

Have a good day.

I am looking forward for the next two kits


We supplied an International Paints user  guide with this first kit.


The boat has now been epoxied all over, it looks like the finish will be done in clear varnish?


The next two kits will be sent out by sea this, time we will also supply two North Sails.

Roy

Wednesday, 6 January 2016

Building Basil's Optimist kit

The Optimist is being built in Zurich, Switzerland, we sent the kit there by air.

The progress is very good, just check on the finish on the Gunnels.

Hi Roy

Back from Spain and Skiing in the mountains I made progres and glued the gunnels.

Wish you and your family a good start in 2016 and all the best.

Basil

There was even time for a holiday!


We supplied the CNC plywood kit and also the selected and machined meranti hardwood for this order.

Roy

Thursday, 31 December 2015

Looking back on the HBYC marina

The date is 31st December 2015 and as good a day as any to look back a little, how far back is a good question?

My picture gives many clues, the HBYC marina extension looks brand new, many berths are still vacant, the Endurance 37 had just returned from Trinidad by way of Brasil and the young girl pictured was probably only six then?

She is now thirty three, so twenty seven years back!


All the very best for the year of 2016 !

Roy

Wednesday, 30 December 2015

The information highway

In this case the information is what I have learned over many decades and since I signed my deeds of apprenticeship,  which in my case clearly stated that I would not divulge any of the trade secrets I was about to learn.

Selling materials and boat kits comes after having already sold many species of wood, types of plywoods, veneers , epoxy and all the related stuff we use when building a boat.


Given that I have just sold a customer  some of the above I find it only fair to then pass on some of the skills I have learned while using similar products?

There are exceptions  when I am asked to explain how to use a product, epoxy is one such product.

It goes like this:

Imagine  I am visited and asked for the information on mixing and using laminating epoxy, then when I have explained at some length the process involved, I ask '  How much do you want to buy? ' , the reply is sometimes quite a shocker ' No I dont want to buy any as  I have already bought what I need from ABC but they have no idea how to use it, so I came to you to find out '  This has happened to me more than once.

Recently I was asked while I was standing next to my own wood/epoxy boat. The question was how to use the micro balloons and fumed silica? These products  I had listed in a quote I had given to a local guy for a Hard Spray Dodger we sell as a CNC cut kit.


It was easy for me to explain by indicating the various parts of my own boat, then I was told that the person had found my quote to be too expensive, so the guy went out and purchased the list of items in my quote from another company, they will have cost him more per item anyway?

This guy was now asking me how to use what he had bought !

There must be a strong word or group of words to describe such people, its a pity I cannot use those words here in my blog.


Compliments of the season to everyone and wishing you well for the coming year of 2016.

Roy

Monday, 21 December 2015

Packing an export Optimist kit

This is a three kit set Optimist package, it also includes the meranti wood, Harken deck package, North Sails, epoxies, filler powders and glass tapes.

The three Optimist kits are going to a sailing school in the USA.


Nigel is making sure the builders jig is inside the crate correctly.


This is okoume marine plywood in 12mm thick, the parts cut are the dagger boards and sides to the dagger board case.


The three bundles of meranti, which are planed to size went in next,then the North Sails, the carton contains the Harken deck gear package and the building plans we supply with each kit we sell.


Loading from the one truck to the other was made easier with the guys that work at the CNC shop plus the driver of the van.


 With this three order Optimist kit set now packed into the van we have finished our order book for the 2015 year.

We received an order for two more Optimist kits just yesterday, also for export, so they will start our new years work in January 2016!

All the best for the end of this year and the best of luck for next year.

Roy


Sunday, 20 December 2015

Basil likes our Optimist kit

In a few days back and from Switzerland.

Hi Roy

Working on the optimist is fun.


I glued the boat including center bulkhead and mast thwart.


Now I will start with the inside gunnels to glue and epoxy the screw holes.


Have a nice day,

Basil

My thanks for the pictures and feed back on the kit from Basil

Roy


Friday, 18 December 2015

The Optimist builders guide from CKD Boats cc

The builders guide was developed as we built the first kit we made.  Finding that the plans are not really exactly correct we changed the first build as we found the mistakes. None of the changes are in the guide, the way we would like you to build our kit is.


These three sets of manuals will soon be packed with a three kit order and shipped to a sailing school in the USA with three of our Optimist kits 

The top set are the ten pages of plans, also four pages of the measurement rules.

The lower set is our fourteen page builders guide, it tells you and shows you what to do in the  next step .

Roy

Thursday, 17 December 2015

How to bleed a Perkins 4108 marine diesel engine ?

The owners manual gives a good account of the process and really that should be all you require?

Bleeding is the term used to remove air from the high pressure side of a diesel engines high pressure injection pipes, as with air in the system the diesel will not flow and the engine will not run.


The picture shows the engine and in the lower left hand corner is the diesel oil filter, start by opening the top fitting and pumping diesel through with the diesel pumps finger lever, when no air is seen you can close the vent plug off.

There is a catch though, the pictures shown in the manual are without the exhaust manifold and a mass of related pipes and fittings.

This spare Perkins 4108 engine has the exhaust manifold removed and for that reason the bleed screws or bolts are more accessable and easier to see.


The picture below shows the actual vents you need to open.

Look for the three spanners, which are two 5/16" and one 1/2" in size. In practice you will only require one of each size.


Click on the images to enlarge them.

The system should be vented by opening the lower bleed plug first, pump with the finger lever untill there is no sign of air, leave the plug open then move onto the top plug, vent that too until there is no air, leave that one open also.

Then open the nut to the fitting on the right, there will be a pipe exiting there, when no air escapes open the nuts at the base of the four injectors.

Next move the engine throttle control to fully open, with the key crank the engine until diesel comes out of the four injector pipes and with no air.

Then close all the open unions up and the engine is ready for starting.

The manual does not show you what the vent plugs look like when removed, this picture is the upper plug.


This upper fitting is actually a spring loaded piston valve, cracking off the lower 1/2 " nut did not achieve a result. After removal of this spare set of bleed bolts,  I could better understand why?

In practice you will only need to slacken the smaller top bolt to bleed the air out, the bottom one is the one lying loose, it goes into the top of the main fitting and then compresses the spring we can see.


You Do Not Remove The Entire Assembly!  as that was done so that I could better explain what is inside the unit.

Note, you may have to use a 7/16" spanner to hold the center nut in place as you loosen the upper plug with a 5/16" spanner, ring spanners are better than the open spanners for this work.


This is the lower vent plug, check the flat side, that allows the air to vent out when the plug is opened.

All of the above pictures were taken with a Canon G12 digital camera set to Auto.

The Perkins 4104 marine engine shown is due for a full rebuild in 2016, new liners, pistons, crank bearings etc, it has a brand new cylinder head, contact me for pricing.

Roy

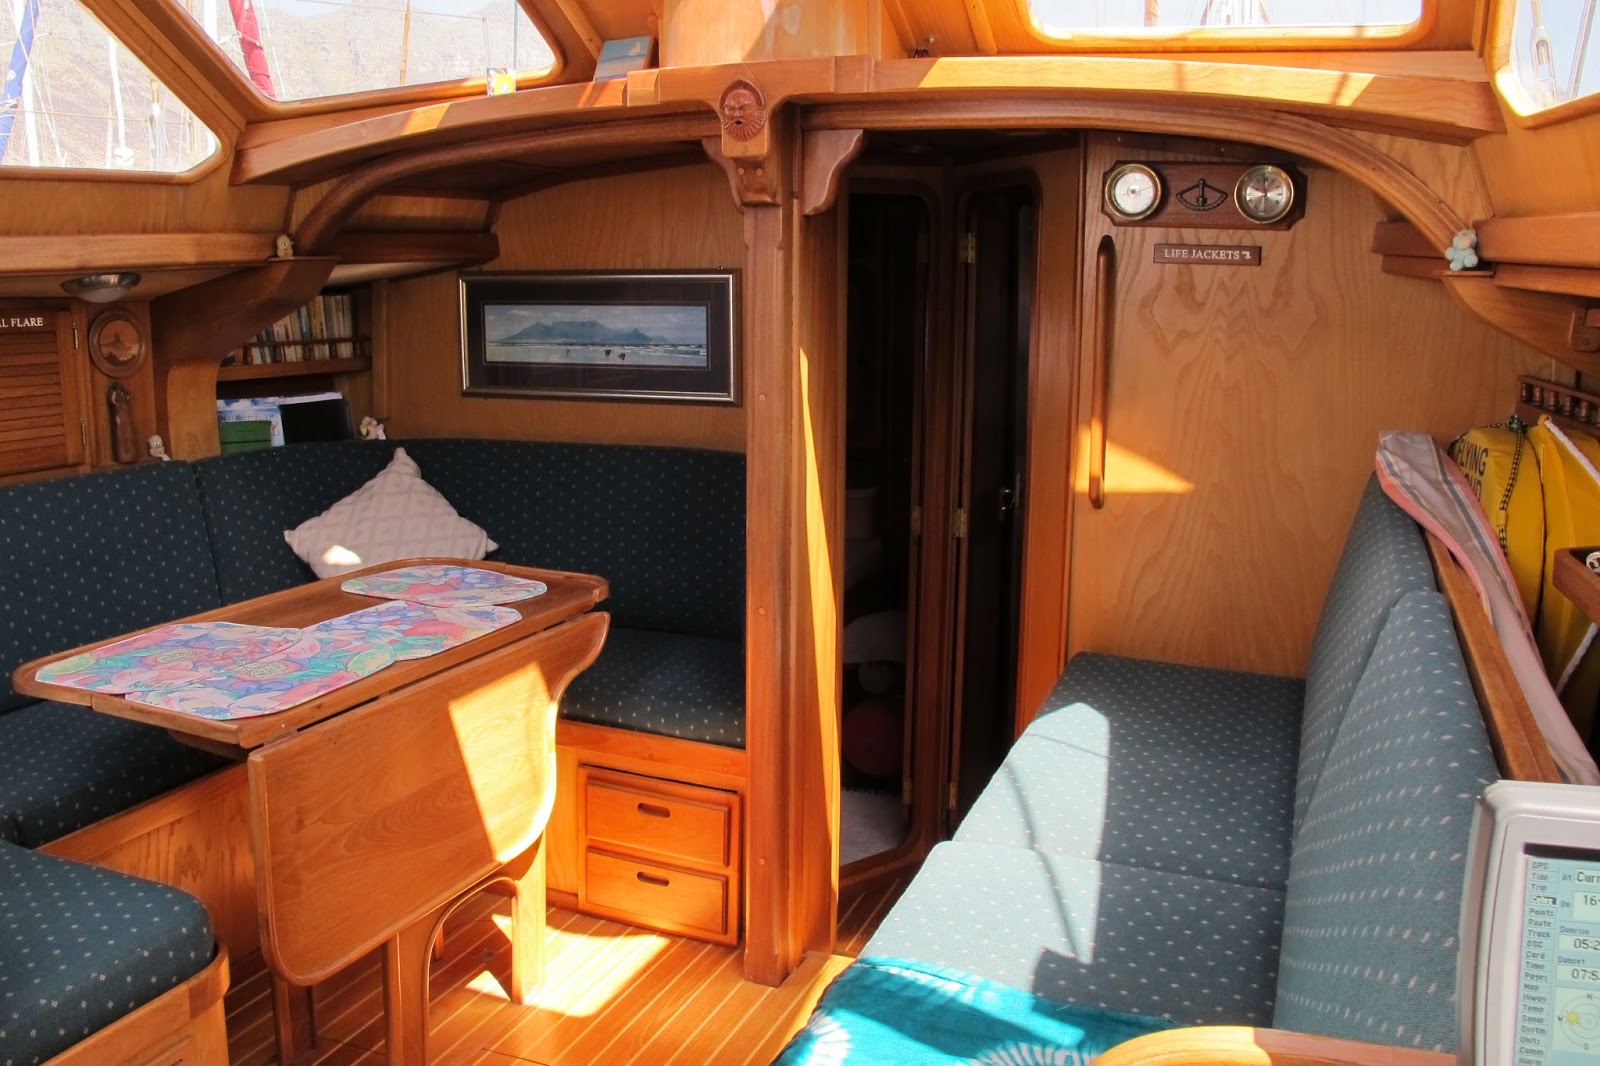
The inside of a wood / epoxy composite yacht

The boat will be some sixteen years old next month, it was possibly the first yacht launched in the Cape Town area in the year 2000.


The design is a Dix 43, the first such yacht to be crafted in a wood / epoxy manner, as the picture shows even sixteen years on the application and finish is good.

Click on the picture for a larger image.

The veneers used were in a flexible sheet form in teak and white ash.


The yacht is for sale, contact me for a Word document with details of the boat.

Roy

Tuesday, 15 December 2015

Dragon Boat class paddles

As with most sports equipment is closely controled and the Dragon Boat Racing class is no different.

We  ( means me) have made hundreds of such paddles, working with a genuine one sent in from Hong Kong and the measurements page.


Recently the last of the original Old Mutual sponsered  paddles have been spruced up and sold at a good price.


There are just two more left, they need some TLC and repairs but once fixed and primed coated in a twin pack paint they will be good to go again.

Any more would need to be made from scratch and at todays pricing.

Roy

What size should the Wood / Epoxy Optimist Mast Step be?

Try as I might and as yet I have not found those measurements.


Please check the picture.

The yellow drawing is one of about ten we will supply you with our fourteen page builders guide.

This plan shows the mast step details.

The so called unoficial builders guide supplied by the Optimist Asscociation, lists various sizes of meranti that the builder will require, we supply as per that list, excepting the mast step.

That is to be supplied as a meranti block 100mm x 60mm x 180mm from which your supposed to cut the mast step from?

That is a large chunk of wood and I doubt the average home builder will have a band saw large enough to deep cut down the 100mm size (4") ?

The other thing is that no where in the plans is the mast step size detailed, no dimensions at all on the actual meranti block itself.

We worked it out according to the other dimension rules and always supply a pre cut (laminated) mast step with each kit we sell.

There are three in the picture above as we are preparing a three kit set order for shipping to a sailing school in the USA.

Regards


Roy

British Seagull outboard restoration

This is as much a hobby as a paying event, mind you the work is very involved and having the old parts re machined and plated does take time and money.


These parts are from an engine around fifty seven years old now.

Just knowing where to take the parts is a story all on its own, the miles traveled are soon stacked up.

They will re assemble to look more or less like the engine in the picture below.


I have at least three more to do, one will be for sale.

Roy