Sunday, 4 October 2020

Optimist dinghy kit build sequence

 These pictures will show the way our Builders Jig and hull panels are assembled.


The jig is built first, it can be re used for the building of more Optimist hulls.The panels are best fitted dry and so that you can check dimensions which we supply with each kit.


Try the panels in the jig and so that you understand the assembly process, it is best not to be in a rush to glue panels at this stage.


Dry fitting gives you more time to know what panels to fit first.


This picture shows a home made clamp and a wooden wedge to help pull the panels together and close the joints.


Seen here all the panels are in place, this is a good time to measure the sizes overall to ensure the boat will measure to the Optimist rules.


This was our first Optimist dinghy hull assembly, it was removed from the jig which is on the table behind it so that the dimensions could be checked, at this stage it has not been glued together.


Plans and a builders guide are supplied with each kit, this is six sets of builders guides.


An option is we can supply the meranti wood, North Sail and Harken deck package.


A North Sail, the corner patches can be supplied in a range of colours.


Packing securely in a plywood crate is how we ship our kits Worldwide.


Steel band strapped for full security.


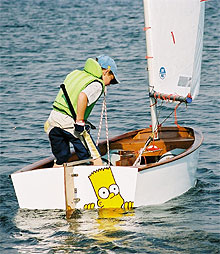
This Optimist dinghy was built from one of our kits, we supplied the North Sail and the Harken deck gear as well.

Contact me for a PDF with pricing.

Roy

No comments:

Post a Comment